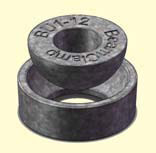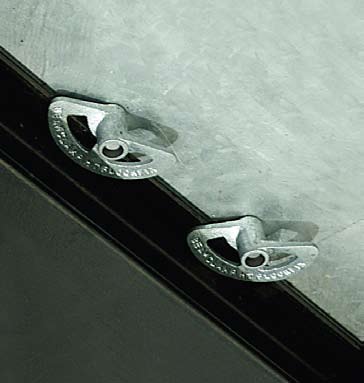
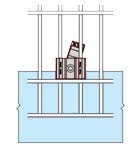
Secures Steel Floor Plate to Existing Steel with High Tolerance FloorFix
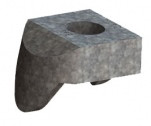
The FloorFix HT connector is designed primarily to secure raised pattern floor plates to supporting steelwork from the top side only, with no need for drilling, tapping, bolting or welding. Working on a cam mechanism, it can be installed by one person working from above using a basic hexagon key drive.
FloorFix HT connector allows for a high degree of tolerance when installing steel flooring, up to =/- 0.25” of its intended position. The FloorFix HT connector is supplied with a galvanized finish.
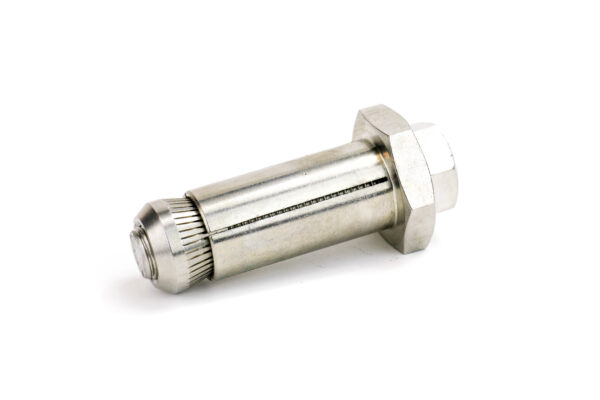
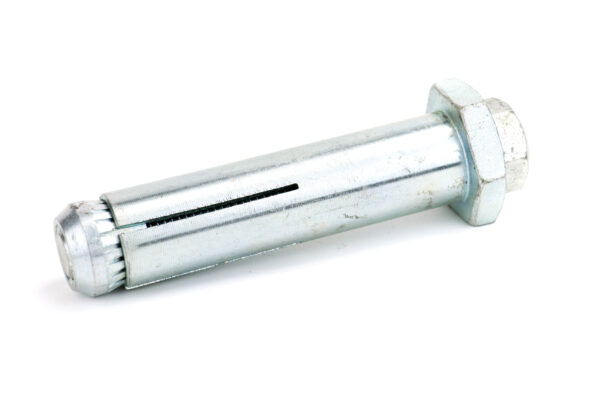
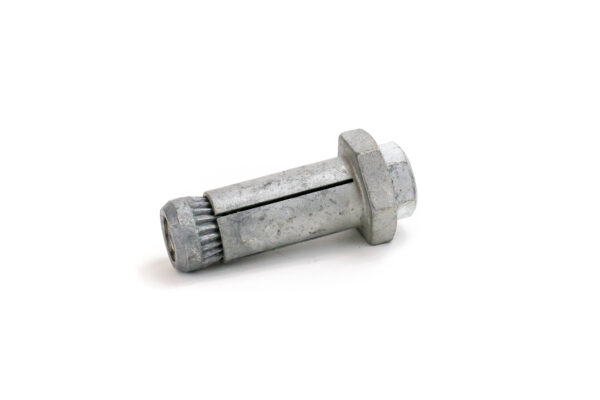
Made to accept plates ranging from 1/8” to 1/2″ thick and steelwork flanges up to 1” thick. For thicker flanges, spacers can be provided.
| Product Code |
Screw Diameter |
Floor Plate Thickness |
Steelwork Flange Thickness |
Tightening Torque |
| |
|
Min. |
Max. |
Min. |
Max. |
(ft. lbs.) |
| FloorFixM12 HT |
1/2″ |
1/4″
|
1/2″ |
1/8″ |
1″ |
22 |
INSTALLATION STEPS
 |
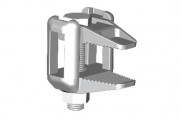
Step 1: Lower the Gratefix thrugh the open part of the grating, ensure the bracket is seated over the adjacent bearing bars. |
 |
Step 2: Slide the Gratefix towards the supporting steelwork flange as far as it will go to ensure maximum clamping force. |
 |
Step 3: Tighten the screw and ensure that the lower casting rotates until one of the steps locates on the bearing bar. |
INSTALLATION STEPS
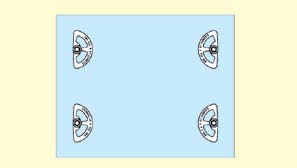 |
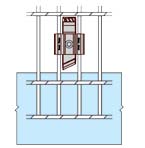
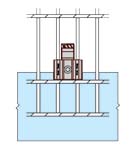
Step 1: Place the FloorFix HT on the underside of the floor plate. Loosely tighten the bolt, making sure the flat edge of the casting is in line with the edge of the steelwork. |
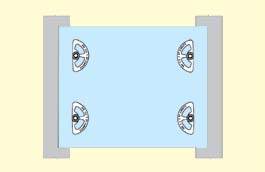 |
Step 2: Lower the plate into position over the supporting steelwork. |
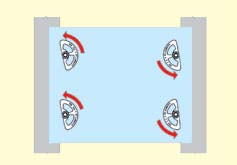 |
Step 3: Once the floor plate is in the desired position rotate the countersunk screw one full turn counterclockwise. |
 |
Step 4: Tighten the countersunk screw until the plate is secured. For guaranteed performance tighten to recommended torque. |
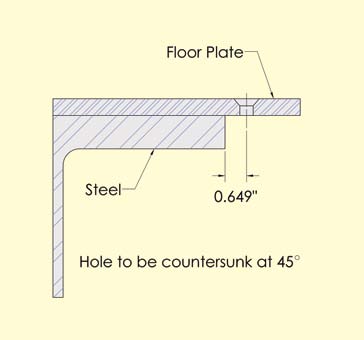
PLATE PREPARATION